The Art And Craft of Wood Carving: Master Techniques and Tips
Wood carving is a timeless craft involving the shaping of wood into beautiful and intricate designs. This guide provides essential techniques and tips.
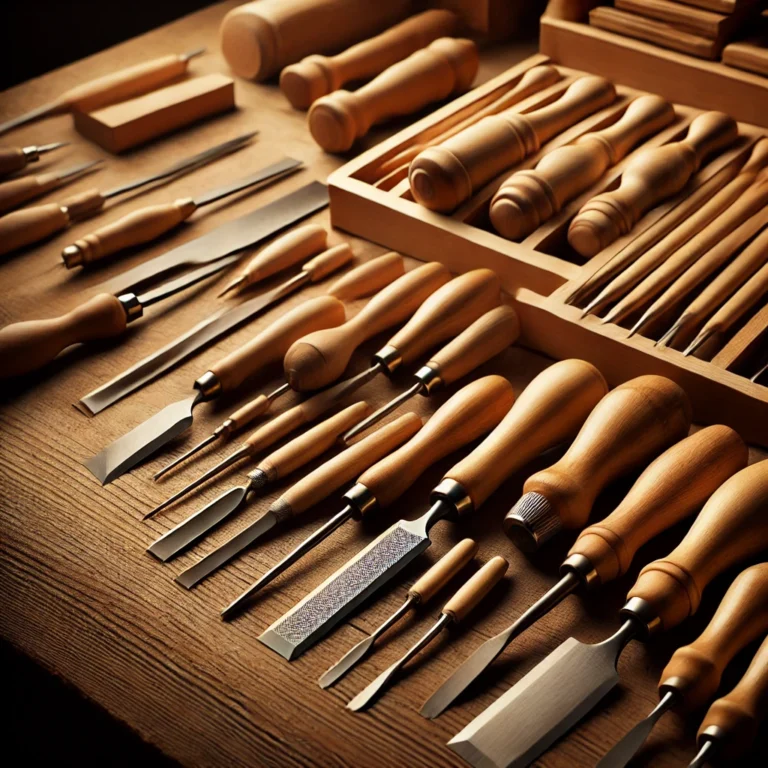
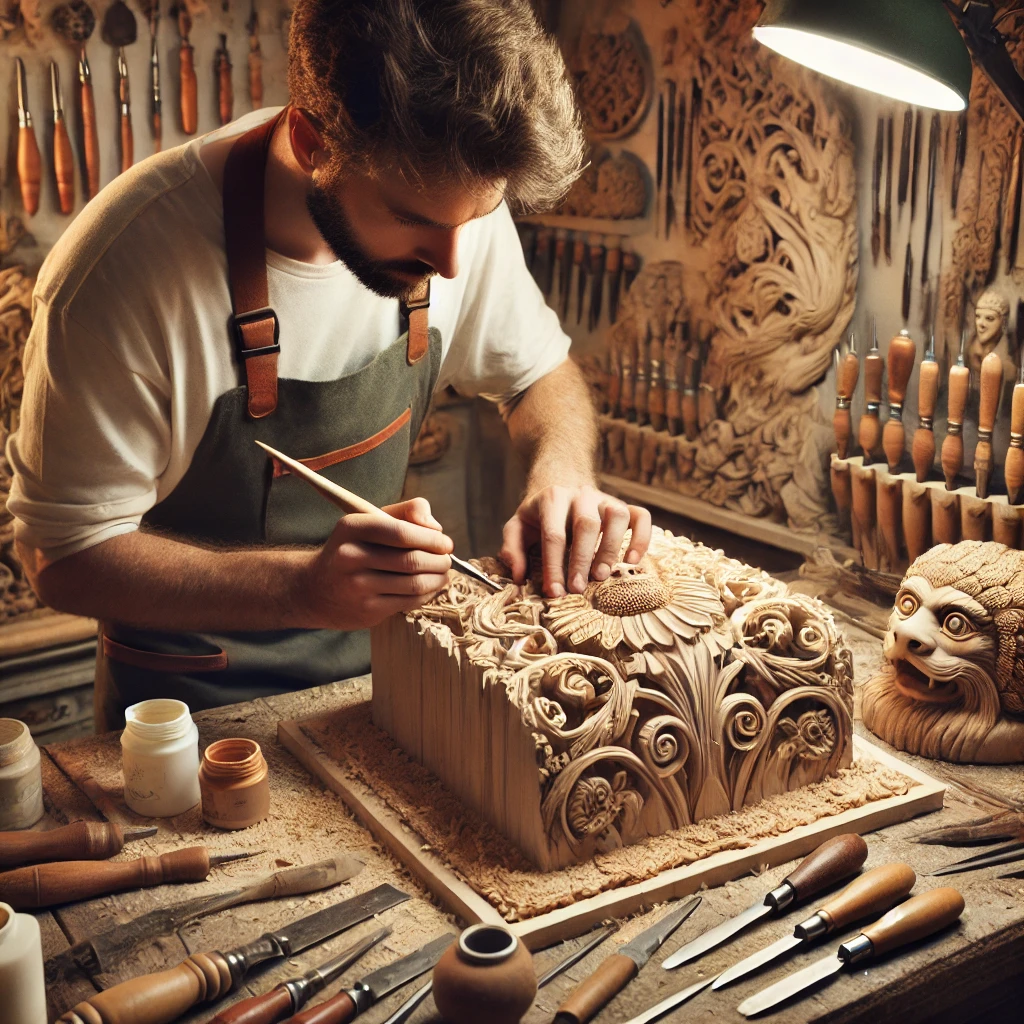
Wood carving is a fascinating art form that combines creativity with craftsmanship. Beginners and experienced carvers alike can benefit from understanding the basics of tools, techniques, and materials. The right tools make all the difference, from chisels and gouges to specialized carving knives.
Selecting the appropriate wood is also crucial, as different types of wood offer varying levels of hardness and grain patterns. Safety is paramount, so wearing protective gear and working in a well-lit, clean environment is essential. This comprehensive guide aims to equip you with the knowledge needed to start or enhance your wood carving journey.
Introduction To Wood Carving
Wood carving is a beautiful and ancient art form. It involves shaping wood with tools to create intricate designs. This craft requires patience, skill and creativity. Whether you’re a beginner or experienced, wood carving offers endless possibilities.
Brief History
Wood carving dates back thousands of years. Early humans used simple tools to carve wood for practical purposes. They created tools, weapons and decorations. Over time, wood carving evolved into a respected art form. Different cultures developed unique styles and techniques. Today, wood carving is a popular hobby and profession worldwide.
Types Of Wood
Choosing the right wood is crucial for successful carving. Different woods have different properties. Here are some common types of wood used in carving:
Wood Type | Characteristics |
Basswood | Soft, easy to carve, fine grain |
Butternut | Soft, easy to carve, attractive color |
Oak | Hard, durable, pronounced grain |
Walnut | Medium hard, rich color, fine grain |
- Basswood: Soft, easy to carve, fine grain.
- Butternut: Soft, easy to carve, attractive color.
- Oak: Hard, durable, pronounced grain.
- Walnut: Medium hard, rich color, fine grain.
Each type of wood has its own benefits. Beginners often start with basswood. It’s soft and easy to carve. More experienced carvers might choose oak or walnut. These woods are harder but offer beautiful results.
Essential Tools
Wood carving is a fascinating and rewarding craft. To create stunning pieces, you need the right tools. This section covers the essential tools for wood carving. We will delve into basic tools and advanced tools required for this art.
Basic Tools
Beginners should start with a set of basic tools. These tools are simple yet effective for most projects.
- Carving Knives: Used for detailed work and shaping.
- Gouges: Ideal for creating curves and hollows.
- Chisels: Essential for cutting and shaping wood.
- V-tools: Perfect for fine lines and intricate details.
- Mallet: Helps apply extra force to chisels.
Advanced Tools
As you gain experience, you may want to invest in advanced tools. These tools allow for more precise and complex work.
Tool | Description |
Power Carvers | Electric tools for faster and detailed carving. |
Micro Chisels | Small chisels for very fine details. |
Detail Knives | Specialized knives for intricate patterns. |
Woodburning Tools | For adding texture and shading. |
Sharpening Stones | Keep your tools razor-sharp. |
With these tools, you can create beautiful wood carvings. Remember to always practice safety while using them.
Selecting The Right Wood
Choosing the right wood is crucial for successful wood carving. Different types of wood offer unique qualities. These qualities can affect the outcome of your project. This guide will help you navigate the options.
Hardwood Vs Softwood
Hardwood comes from deciduous trees like oak, maple and walnut. These woods are dense and durable. They are great for intricate details. However, they are harder to carve. Softwood comes from coniferous trees like pine, cedar and fir. These woods are easier to carve. They are less durable but ideal for beginners.
Type | Examples | Characteristics |
Hardwood | Oak, Maple, Walnut | Dense, Durable, Detailed |
Softwood | Pine, Cedar, Fir | Soft, Easy to Carve, Less Durable |
Grain And Texture
Grain refers to the alignment of wood fibers. Straight grain is easier to carve. It provides a smooth finish. Interlocked or irregular grain is more challenging. It can cause the wood to chip.
Texture affects the appearance of your carving. Fine-textured wood allows for detailed work. Coarse-textured wood is better for larger projects.
- Straight Grain: Easier to carve, smooth finish.
- Interlocked Grain: Challenging, may chip.
- Fine Texture: Ideal for detail.
- Coarse Texture: Best for large pieces.
Understanding these elements helps you choose the best wood. This makes your carving process smoother and more enjoyable.
Fundamental Techniques
Wood carving is an ancient art that requires patience and precision. Mastering the fundamental techniques is essential for creating beautiful wooden pieces. This section will introduce the basic skills every beginner should learn.
Carving Methods
There are several methods for carving wood. Each method uses different tools and techniques. Here are the most common methods:
- Whittling: Involves carving wood with a knife. Ideal for small, simple projects.
- Relief Carving: Creates a raised design on a flat background. Requires chisels and gouges.
- Chip Carving: Uses small knives to remove tiny chips. Great for intricate patterns.
- Carving in the Round: Produces fully three-dimensional sculptures. Demands more skill and experience.
Sharpening Tools
Sharp tools are crucial for safe and effective carving. Dull tools can cause slips and injuries. Here’s how to keep your tools sharp:
- Use a Whetstone: A whetstone helps maintain a sharp edge. Apply water or oil for lubrication.
- Strop the Blade: A leather strop removes burrs and polishes the edge. Use after whetstone sharpening.
- Maintain the Angle: Keep a consistent angle when sharpening. Typically, 20-25 degrees for most tools.
- Regular Maintenance: Sharpen tools regularly to avoid dullness. Inspect tools before each use.
Learning these fundamental techniques will set a solid foundation. With practice, your skills and confidence will grow. Stay patient and enjoy the process of wood carving.
Safety Measures
Wood carving is a rewarding craft that requires precision and care. Safety should always be a top priority to prevent accidents. Here, we will discuss essential safety measures every wood carver should follow.
Protective Gear
Wearing the right protective gear is crucial for safe wood carving. Make sure to use:
- Safety goggles to protect your eyes from flying debris.
- Dust mask to avoid inhaling wood particles.
- Cut-resistant gloves to protect your hands from sharp tools.
- Ear protection if using power tools.
Investing in quality protective gear can save you from serious injuries. Always check your gear before starting a new project.
Safe Carving Practices
Practicing safe carving techniques is as important as wearing protective gear. Follow these guidelines:
- Keep your tools sharp to make clean cuts and reduce slipping.
- Always carve away from your body to avoid accidents.
- Secure your workpiece using clamps or a vise.
- Take frequent breaks to rest your hands and avoid fatigue.
- Work in a well-lit and well-ventilated area.
Maintaining good carving practices ensures your safety and improves your carving skills.
Protective Gear | Benefits |
Safety Goggles | Protects eyes from debris |
Dust Mask | Prevents inhalation of particles |
Cut-resistant Gloves | Prevents cuts and injuries |
Ear Protection | Protects hearing from loud tools |
Following these safety measures will make wood carving a safer and more enjoyable experience.
Design And Pattern
In the realm of wood carving, design and pattern play pivotal roles. They breathe life into your creations. Choosing the right design and effectively transferring patterns can elevate your work. This guide will help you master these essential skills.
Choosing A Design
Choosing the right design is crucial. Here are some tips:
- Consider your skill level. Beginners should choose simple designs.
- Think about the wood type. Some woods are better for intricate designs.
- Decide on the purpose. Functional items need practical designs.
- Draw inspiration from nature. Organic shapes often work well.
Use these guidelines to pick the best design for your project. Start with a clear vision. Sketch your ideas on paper. This helps you visualize the final product.
Transferring Patterns
Transferring patterns onto wood is a crucial step. Follow these methods:
- Tracing Paper: Place tracing paper over your design. Trace it with a pencil. Then, place the tracing paper on the wood. Go over the lines with a stylus.
- Carbon Paper: Put carbon paper between the design and wood. Trace the design. The carbon paper transfers the pattern onto the wood.
- Direct Drawing: Draw the design directly onto the wood. Use a soft pencil for easy corrections.
Each method has its benefits. Choose the one that suits you best. Ensure your pattern is clear and precise. This will guide your carving process.
Method | Benefits | Best For |
Tracing Paper | Easy to use, precise | Beginners |
Carbon Paper | Quick, accurate | Detailed designs |
Direct Drawing | Flexible, immediate | Experienced carvers |
Practice these methods to find your preferred technique. A good transfer ensures a smooth carving process.
Finishing Touches
The final steps in wood carving bring your piece to life. The finishing touches involve careful sanding and applying the perfect finish. These steps ensure your creation looks polished and professional.
Sanding And Smoothing
Start with a coarse sandpaper, around 80-grit. Gently sand the entire piece. This removes any rough spots or tool marks. Move to a finer sandpaper, like 120-grit. This smooths the surface even more.
For a silky finish, use a 220-grit sandpaper. Sand in the direction of the wood grain. This prevents scratches and gives a smooth finish.
Use a sanding block for flat areas. For curves and detailed spots, use a piece of sandpaper wrapped around a dowel or your finger.
After sanding, wipe the piece with a damp cloth. This removes any dust and raises the grain. Sand again with 220-grit for a perfect finish.
Applying Finish
Choose the right finish for your piece. Common options include oil, wax, or lacquer. Each type of finish has its own benefits and look.
Oil finishes penetrate the wood and enhance the grain. Apply with a cloth, rubbing it into the wood. Let it soak in, then wipe off any excess. Repeat for a deeper finish.
Wax finishes give a soft, natural look. Rub the wax into the wood with a cloth. Buff to a shine with a clean cloth.
Lacquer finishes create a hard, protective coat. Spray or brush on the lacquer. Let it dry completely, then sand lightly with 320-grit sandpaper. Apply multiple coats for a high-gloss finish.
For a unique finish, try combining techniques. Use oil first, then apply a coat of wax for extra protection and shine.
Remember to work in a well-ventilated area. Protect your workspace with newspaper or a drop cloth.
Here’s a quick comparison of finishes:
Finish Type | Application | Appearance |
Oil | Rub with cloth | Enhances grain |
Wax | Rub and buff | Natural look |
Lacquer | Spray or brush | High-gloss |
With the right techniques, your wood carving will shine. Happy carving!
Common Mistakes
Wood carving is a delightful craft, but even skilled carvers make mistakes. Recognizing these errors helps improve your technique and results. This section covers common pitfalls and how to avoid them.
Avoiding Splinters
Splinters can ruin your wood carving experience. Follow these steps to minimize splinters:
- Use Sharp Tools: Dull tools are more likely to cause splinters. Always sharpen your tools.
- Cut with the Grain: Cutting against the grain causes splintering. Always observe the wood grain direction.
- Sand Smoothly: Sand your wood surface before and after carving. This reduces splinters.
Correcting Errors
Mistakes happen in wood carving. Correcting them properly ensures a quality finish. Here are some tips:
- Fill Gaps: Use wood filler to fill gaps and cracks. Choose a filler that matches your wood type.
- Re-carve Areas: Re-carve small mistakes carefully. Be gentle to avoid further errors.
- Use Sandpaper: Sand down minor mistakes. Start with a coarse grit, then finish with a fine grit.
Table: Quick Tips For Beginners
Tip | Description |
Keep Tools Sharp | Sharp tools reduce splinters and improve precision. |
Work with the Grain | Following the grain direction prevents splintering. |
Sand Your Wood | Sanding makes your surface smooth and splinter-free. |
Inspiration And Resources
Wood carving is a timeless craft that blends artistry and technique. Finding the right inspiration and resources is crucial for beginners and experts alike. From famous carvers to comprehensive books, countless sources can ignite your creativity.
Famous Wood Carvers
Learning from the masters can greatly enhance your skills. Here are some renowned wood carvers:
- Grinling Gibbons: Known for intricate Baroque carvings.
- Mary May: Expert in traditional and classical carving techniques.
- Chris Pye: Author and accomplished carver with a vast online presence.
Each of these artists has made significant contributions to the craft. Studying their work can offer valuable insights and inspiration.
Books And Online Tutorials
Books and online tutorials are excellent resources for learning and refining wood carving skills. Here are some recommendations:
Resource | Description |
The Complete Manual of Woodworking | Comprehensive guide covering tools, techniques, and projects. |
Woodcarving Illustrated | Magazine offering tips, patterns and artist features. |
Online Tutorials by Chris Pye | Extensive video library on various wood carving techniques. |
Mary May’s Online School | Detailed lessons on traditional and classical carving. |
These resources provide step-by-step instructions and visual aids. They help in mastering the art of wood carving.
Frequently Asked Questions
What Tools Are Needed For Wood Carving?
Wood carving requires a few essential tools. These include chisels, gouges, mallets, and carving knives. Each tool serves a specific purpose in shaping and detailing the wood.
How Do I Start Wood Carving?
Start wood carving by selecting a simple project. Use softwood like basswood and basic tools. Practice basic cuts and techniques to build your skills.
What Types Of Wood Are Best For Carving?
Softwoods like basswood and pine are ideal for beginners. They are easier to carve and less likely to split. Hardwoods like oak and walnut are better for experienced carvers.
How Do I Maintain Wood Carving Tools?
Maintain wood carving tools by keeping them sharp. Regularly hone the blades using a sharpening stone. Clean tools after each use to prevent rust and damage.
Conclusion
Wood carving is a timeless art that brings creativity and skill together. Embrace its beauty and practice regularly. Your patience and dedication will yield stunning results. Explore different techniques and tools. Keep learning and experimenting. Soon, you’ll create masterpieces that reflect your unique style and passion.